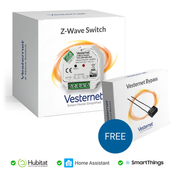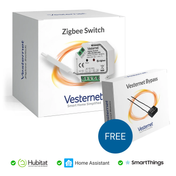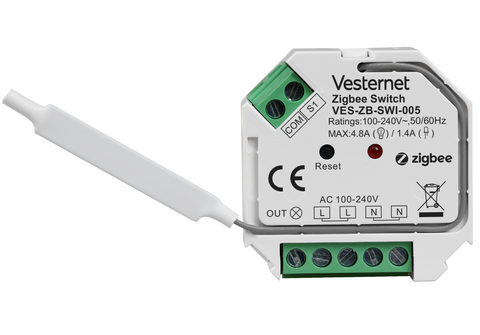

Vesternet Zigbee 2-Wire Capable Switch (VES-ZB-SWI-005)
Thanks for purchasing this Vesternet Device for use in your SmartThings Smart Home Controller!
The VES-ZB-SWI-005 is a Zigbee 2-Wire Capable Switch and offers the following features:
- 2-Wire (without Neutral) or 3-Wire (with Neutral) wiring and optional Bypass for flexible installation possibilities
- Supports Momentary Switches
- 4.8A Resistive Load (1.4A Capacitive / Inductive Load)
- Small Installation Size 45.5 x 45 x 20.3 mm
- Zigbee 3.0 works with Zigbee ZHA & Zigbee ZLL Hubs & Bridges
The SmartThings Smart Home Controller needs a "Device Handler" for each hardware Device that you wish to use so that it functions correctly. A Device Handler is a piece of software / code written in the Groovy programming language and these are created by SmartThings themselves, by manufacturers of hardware devices or by the SmartThings Community.
Vesternet hardware is no different in this respect, but fortunately for the end user we've created our own Device Handlers for our full range of hardware. This means that you don't need to search and scour the web to try and find code and information in getting the Device to work!
For best compatibility with the SmartThings Smart Home Controller we recommend that you use our supporting Device Handler.
Vesternet Zigbee Device Handlers
Available here.
Two files are required for this particular Device:
- VES-ZB-SWI-005 2-Wire Capable Switch.groovy
- VES-ZB-SWI-005 2-Wire Capable Switch Child Button.groovy
This Vesternet Device has the following features when used with our supporting Device Handler in the SmartThings Smart Home Controller (tested with SmartThings firmware version 000.032.00012).
- Supports On and Off Control from the App.
- Reports On and Off Events when operated from the local switch.
- Allows assigning of "Actions" for On and Off Control from the Device Details section of the App.
- Allows adding of "Automations" for On and Off Events from the Automations section of the App.
- Allows adding of "Automations" for On and Off Control from the Automations section of the App.
Physical Device Installation
This Vesternet Device needs directly connecting to your home's electrical wiring system following all applicable regulations and safety standards. You need to be confident in your capabilities in this area, otherwise you can cause damage to the module, your wiring or yourself!
If you'd prefer a Professional installation of your Smart Home Devices you can find further information in our DIY VS Professional guide.
The Device can be wired using either 2-Wire or 3-Wire configuration. The Bypass Accessory might be required for certain load types when used in a 2-Wire setup.

For further information please see the manual that was included with the Device.
Device Operation
The Device has a single switch input that controls the single output. When a momentary switch is connected, the state is toggled with every press of the switch. Toggle switches aren't supported.
For further information please see the manual that was included with the Device.
Installing the Device Handler
Access the SmartThings Groovy Integrated Development Environment here. If you're new to the SmartThings IDE you can read more about it at SmartThings Classic Documentation
- Click "My Device Handlers". You'll see a list of any Device Handlers that you've already loaded. To create a new one, click on "Create New Device Handler".

- Click "From Code" to load a blank editor document.

- The editor is very basic and is best used for simply pasting in code from another location.

- Visit the Vesternet GitHub Repository at the location mentioned at the beginning of this manual and view the file containing the Device Handler Groovy code.
To ensure only valid Groovy code is copied, click on the "Raw" button.
- Select all of the text on the page and copy it.
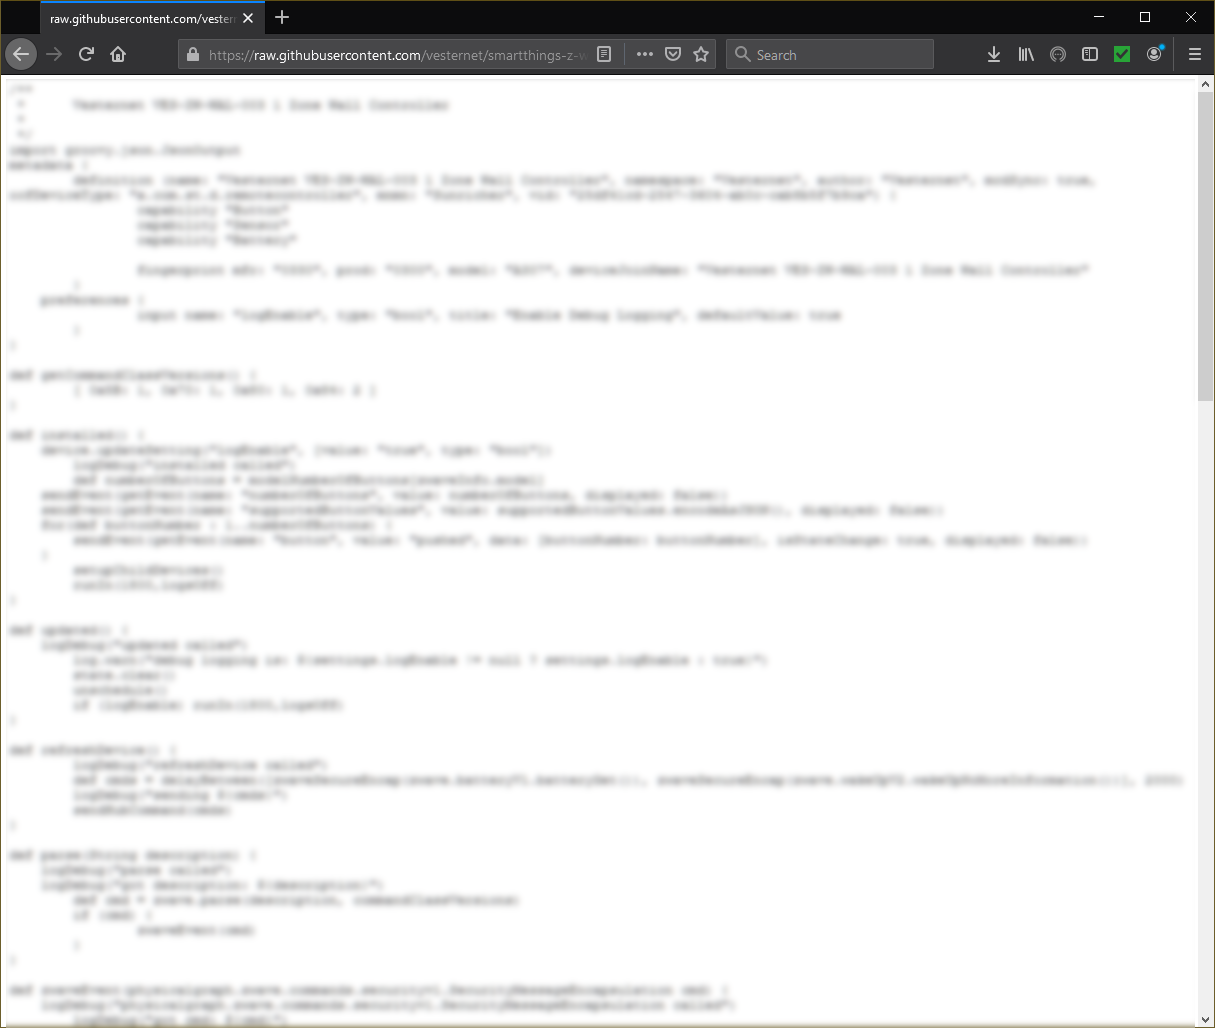
- Copy the code from the GitHub page, paste it into the SmartThings editor and then click "Create".
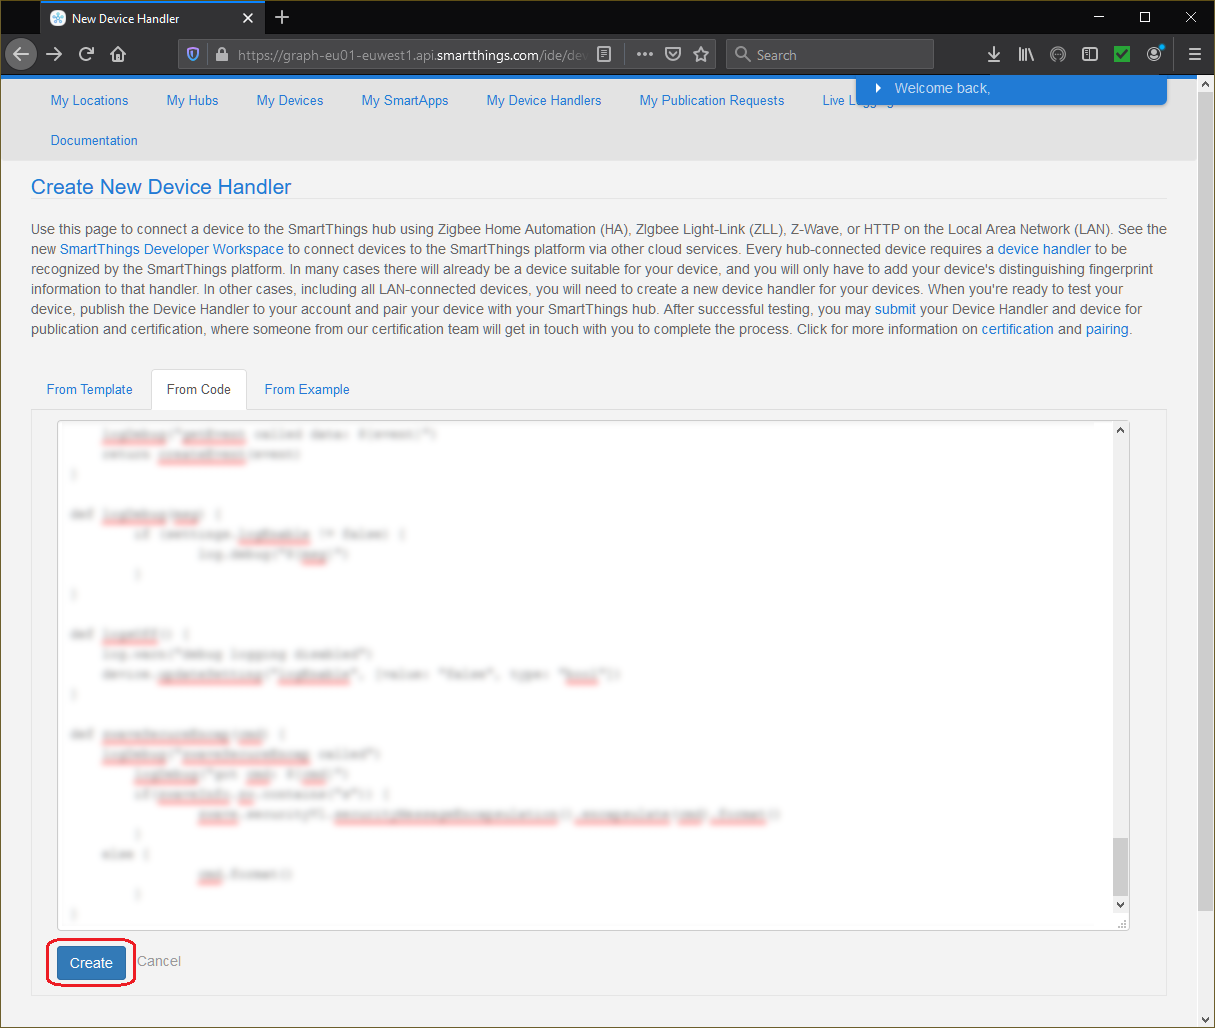
- Make sure that the SmartThings editor confirms with a "Created SmartDevice" message.

- Finally click on the "Publish" button and select "For Me". This is an important step as it makes the Device Handler live on your SmartThings Smart Home Controller!
If the Device requires multiple Device Handlers, be sure to repeat the process from the start and create all that are required.
- To update or make changes to the Device Handler in the future you can simply click on the link in the "Namespace/Name" column in the initial list shown on the "My Device Handlers" page.
You will be taken to the SmartThings editor for that Device Handler where you can edit the code, select it all and overwrite with a new copy, etc.
Don't forget to click the "Save" button to save any changes. Then once again ensure to click the "Publish" button and select "For Me".
Pair the Device
Open the SmartThings App on your smartphone or tablet. If you're new to the SmartThings App you can read more about it at the SmartThings Getting Started guide.
- From the SmartThings App Dashboard, touch the "+" in the top right corner of the App, then touch "Device".


- Scroll down the screen and touch "Scan Nearby". If you have multiple SmartThings Smart Home Controllers you'll be shown a "Select hub" screen.


- Touch one of the hubs to put a tick next to it, then touch "Select" to initiate the scan.


- To confirm the pairing request on the Device, press the "reset" button 5 times quickly.
That's all there is to it, BE PATIENT and SmartThings should eventually show a success message!
You can change the Device name if you wish by touching on "Rename". Touch the back arrow in the top left corner to return back to the Dashboard.

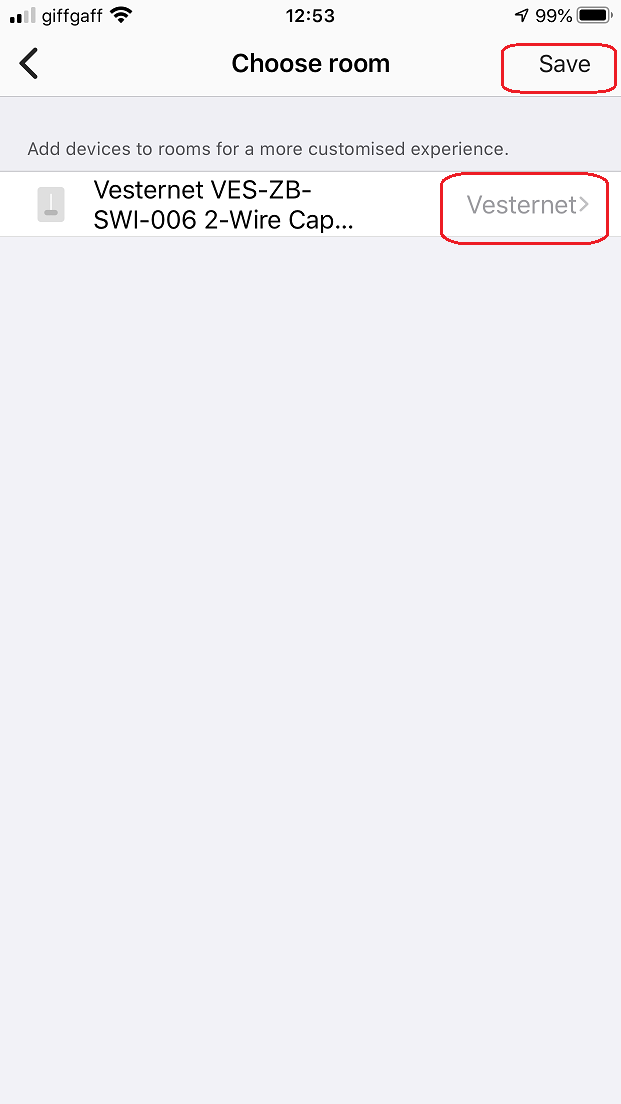
- You'll find that the Device hasn't been assigned to a room, so you can now do so if you wish by touching "Move to other room".
Once the "Choose room" screen appears you can change the room and touch "Save" to finish.
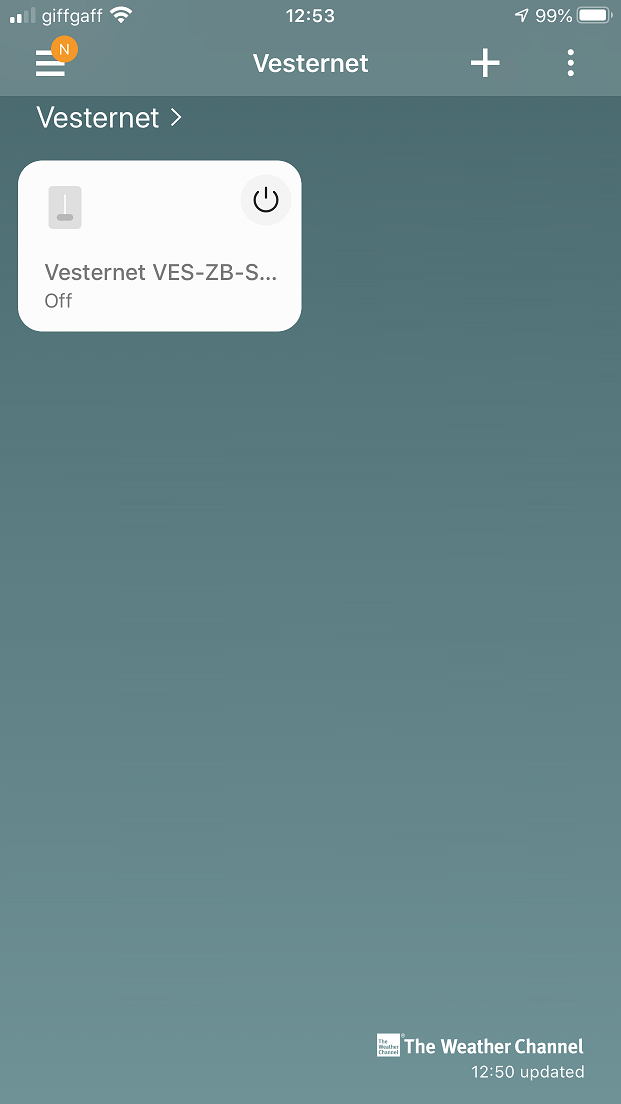
- Return to the Dashboard and view your new Device.
Configure the Device
There aren't any configuration settings available for this Device, it is "ready-to-use" as soon as it's been Paired to your Zigbee network!
App Control
Open the SmartThings App on your smartphone or tablet. If you're new to the SmartThings App you can read more about it at the SmartThings Getting Started guide.
You can control this Device directly from the SmartThings App Dashboard by simply touching on the "switch icon" at the top right corner of the Device tile.
With each touch the Device will be toggled to its opposite state. Note that the Device icon changes to indicate the current state too.


You can also Control the Device from the Device details page, this time the "switch icon" itself changes to indicate the Device state.


Touching the "History" tab at the bottom of the screen will open the history of all the previous Events from the Device.
You can also access further screens by touching the menu icon at the top right of the screen, with options for editing the Device name and changing the room that it's in.


Usage in Automations, Scenes, Schedules & Logic
Open the SmartThings App on your smartphone or tablet. If you're new to the SmartThings App you can read more about it at the SmartThings Getting Started guide.
SmartThings offers several different ways to use your Devices, here we'll take a look at direct Device "Actions" and general "Automations".
Actions
- From the Device details screen, touch one of the Actions that are listed.
SmartThings helpfully offers the standard Actions of "Timer", "Power On" and "Power Off" which are all simple time-based triggers.
Touch the "Timer" Action and once the "Timer" screen appears you can see that there are options for setting a simple countdown timer. Touch some of the options and then touch "Save".

- Back on the Actions screen you'll see the results. Once the countdown timer expires your selected Action on the Device will happen automatically.
Touching the "Slider" to the right of the Action will alternately disable and enable it.
Now touch the "Power On" Action and once the "Power On" screen appears you can see that there are options for setting a simple scheduled event that turns the Device On
Scroll the hours and minutes to set a time for the Action to occur. You can make this Action one that repeats automatically by touching one or more of the days-of-the-week at the bottom.

- Here you can see that a weekday schedule has been set for 7am. Touch "Save" when you are done.
Back on the Actions screen you'll see the results and again, touching the "Slider" to the right of the Action will alternately disable and enable it.
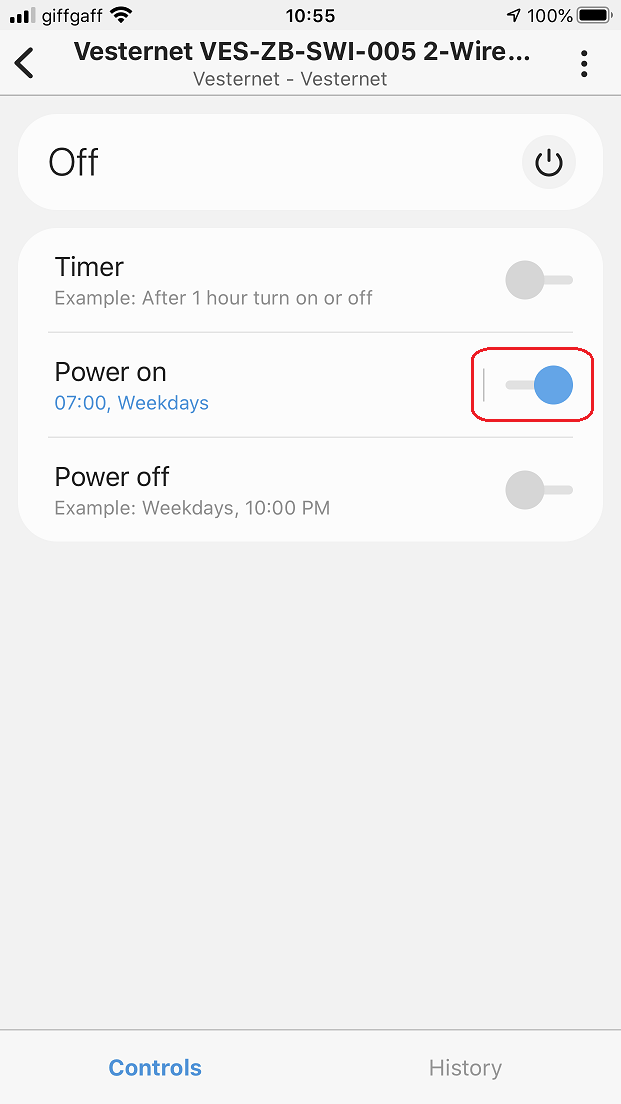
- The "Power Off" Action is the same as the "Power On" Action except this time the scheduled event turns the Device Off.
Once again, touching the "Slider" to the right of the Action will alternately disable and enable it.

Automations
Automations for this Device come in two forms, those that can react to an "Event" from the Device locally (such as it turning On or Off) and those that can "Control" the Device (for example turning it On or Off) in reaction to an Event from a different part of the SmartThings system such as Location or Weather. Of course you can also react to other devices too!
Reacting to Events from the Device
- From the Dashboard, expand the main menu and touch "Automations".
Once the "Automations" screen appears touch "Add automation" to move on.

- Once the "Add automation" screen appears touch "Add condition" and then "Device status" since we're interested in reacting to a Device Event.


- Devices with available conditions will be shown, so touch one to select it.
The next screen will show the available conditions for the Device, so here we can select the "On or Off" (either event will trigger) or "On" and "Off" individually.

- Touch one of the conditions to put a tick mark next to it, then touch "Save" to return to the "Add automation" screen.
Now you can see that your "If" condition has been populated, so touch "Add action" to move on.

- For this we'll elect to send a push notification to ourselves when the Device is turned On, so touch on "Notify someone" to proceed, followed by "Send notification to members".


- Type in your message, here we chose a simple "the switch turned on" text, but you could include more information if you wish, for example the room name.
Touch "Save" when you are finished.
At this point you can add further Actions if needed, or simply touch "Done" to save this Automation.

- Finally, enter a name for this Automation or keep the default one, touching "OK" to confirm.
Back on the Automations screen you'll notice that you can disable / enable the Automation if needed by touching on the "slider".

Controlling the Device
- From the Dashboard, expand the main menu and touch "Automations".
Once the "Automations" screen appears touch "Add automation" to move on.

- Once the "Add automation" screen appears touch "Add condition" and then "Location mode" since we're interested in reacting when the Location Mode of the SmartThings sytem changes.


- SmartThings supports various Location Modes, so select one by touching one of the "Night", "Away" or "Home" options, then touch "Save" to continue.

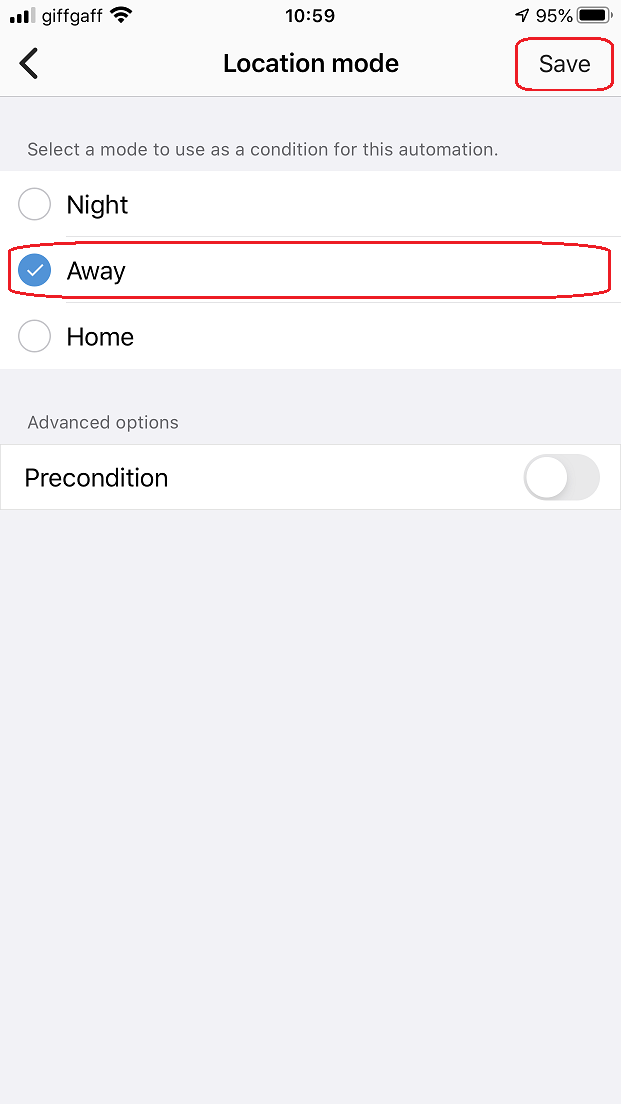
- Now we can add the Action that we want to happen when the Location Mode changes, so touch "Add action" and then on "Control devices", since we want to control the Device.


- Devices with available Actions will be shown, so touch one to select it and then touch "Save"to move on.


- SmartThings helpfully selects a default Action automatically depending on the type of device, so check the result in the "Then" section of the Automation and if that's what you need simply touch "Done" to confirm.
If however you wish to change the Action then simply touch on it, make your changes and touch "Save" once finished.

- Finally, enter a name for this Automation or keep the default one, touching "OK" to confirm.
Back on the Automations screen you'll notice that you can disable / enable the Automation if needed by touching on the "slider".

Getting Help and Support
We hope that you are satisfied with your purchase and don't experience any issues with installing and using your new Vesternet Device. As always, help is at hand should you need it by simply following the links below.


